NOTE: Stained glass photos in this post are from scans of 3×5 inch prints taken a loooong time ago by a not very apt photographer (me). I apologize for the quality (or lack thereof) and small size of the detail photos.
You all remember 1998, don’t you? You could buy a dozen eggs in the USA for 88 cents. President Bill Clinton was impeached for lying about… well, everything. Quebec sought independence from Canada. The Wedding Singer was playing at movie theaters, and Spice Girls were playing everywhere else.
Okay, I don’t remember 1998 either, but I think that was around about the time that I bought my glass kiln. It was a manual model, as opposed to a programmable model. The difference being that mine had one dial that went from “1” to “10” to denote how hot you wanted the interior of your kiln to be, and a gauge that showed how hot the interior actually was. Kind of. Ballpark. Your guess was as good as the gauge’s.
Programmable kilns require a degree in computer technology (or a savvy teenager) to operate. They can be set to heat up when you want them to, stay at that temperature for however long you want, ramp up or down to whatever temp you want next… and continue doing so for however many changes your kiln allows you to preset (which is determined by how much money you shelled out for said kiln).
Needless to say, a manual kiln required a lot of experimentation, copious note-taking and additional experimentation to get the results one wants when fusing or slumping glass. Since I’m too impatient to do all of that – and since that seemed boring as all get out – I opted to just experiment to see what the kiln would produce after my wild guesses about how and when to adjust (remember that little 1 to 10 dial I mentioned?) the temperature.
Here are some of my early experiments:
In the 90s, it was really cool to melt a bottle to flatten it, drill a small, angled hole in one end, and turn it into a stick incense holder. I just stopped at the flattened bottle stage.

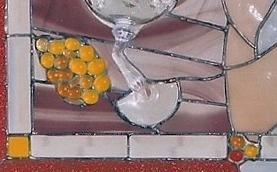
Then, I had a chipped wine glass that was headed for the garbage. I “repurposed” it, chucking it into the kiln to see what would happen. I was thrilled with this result.

This next one was quite brilliant! Unfortunately the photo doesn’t show the results well at all (we took photos with cameras back then, not our phones; my phone cord wouldn’t have extended all the way to the kiln, anyway).
I cut a circular piece of textured glass (hence the grid pattern). Then I placed little rocks in the kiln and laid the glass on top of the rocks. The notion was that the glass would melt around the rocks and form a really cool, totally random, bumpy shape.
How was I to know that the rocks I had gathered from the beach still contained moisture inside and would explode once they were heated to umpteen degrees? That session was cut short once the rock shrapnel began pummeling the inside lining of my kiln.

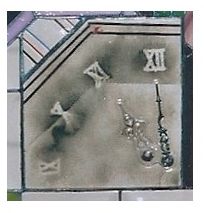
Next, I experimented with sandwiching various things between two pieces of clear glass and fusing them together. Here, I used a couple of metal clock hands. I made the Roman numeral shapes by placing the plastic pieces that came with the clock kit on the glass and sprinkling black fine frit over them. (Fine frit is colored glass that has been ground into powder.) I was smart enough to remove the plastic numbers before preparing the piece for the kiln (rack one up for the experimenter!).
As I was moving this clock “sandwich” to the kiln, the layers slipped, thus making the shadow line in the frit that mirrors the shape of the glass corner. That “accident” just made it more interesting, so into the kiln it went! I thought this one turned out rather well. Much better than the exploding rock episode.
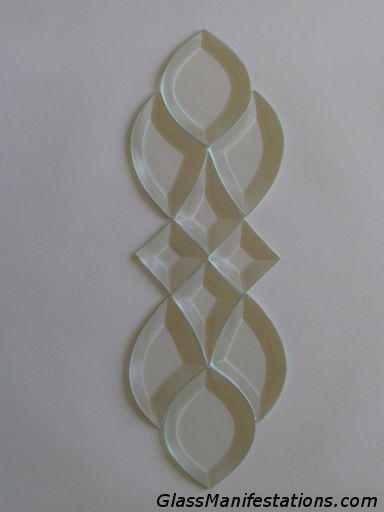
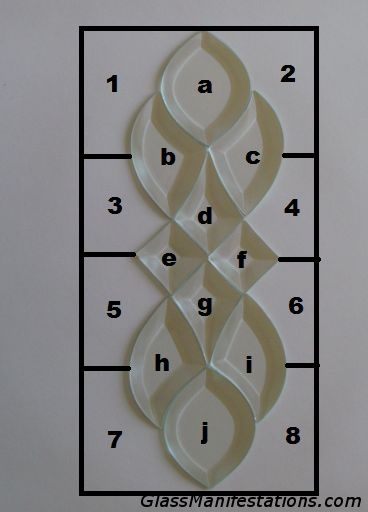
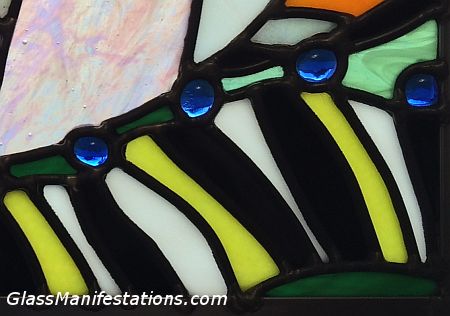
I ultimately soldered my experiment “results” into this panel:
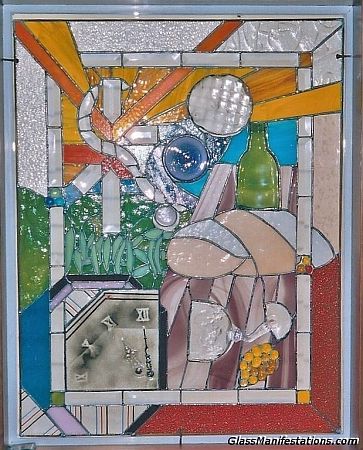
Window with no back lighting.
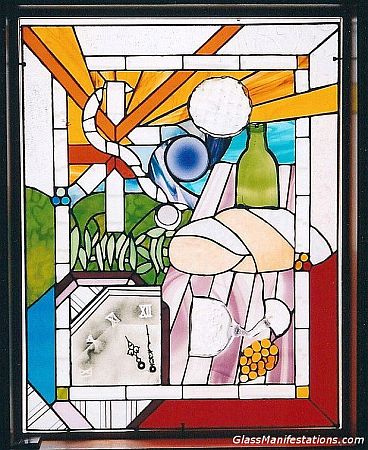
Window backlit by sunlight.
I sold my kiln when I downsized my living space. Probably just as well; who knows what I might have tried next? Will I ever buy another? I doubt it. The programming seems too daunting.
Besides, I’m still learning how to take photos with my cell phone.
 E is for Experiment
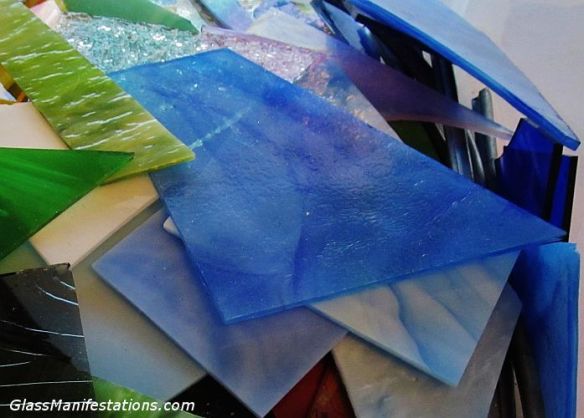
 You look at these beautiful buttons of glass; a confectioner’s delight of colorful “candy.” And you ask, “What are these gorgeous pieces called?”
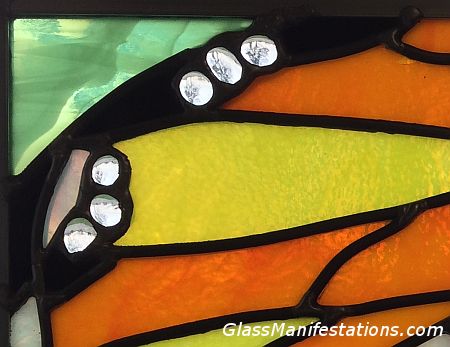

 G is for Glob.