So I had a “light bulb moment” the other day. You know, that moment when you have a sudden realization, an enlightenment of sorts, when the metaphorical light bulb turns on in your brain and you say, “Aha!”
Oh wait… that’s an “aha moment.” But anyway, that light bulb moment when you are struck with a sudden insight or inspiration that leads you on to new discoveries?
Yeah… that’s not what I’m talking about.
I’m talking about a real light bulb. You know… bulbous, light-producing… something that you screw into a socket so that someone doesn’t come along and stick their fingers in it. That kind of light bulb.
Okay, on to my moment. I bought a light bulb that is supposed to have a 27 year life span. I can’t remember how much I paid for it. That memory is probably repressed to protect me from the trauma.
Nor can I remember what I was thinking when I decided that I needed this acme of amperage, this wonder of wattage, this lion of lumens.
Perhaps I just felt that, at some point in my dotage, I might want to switch on a lamp, and I could rest in ease knowing that my trusty light bulb would be there waiting to brighten my day. Or night.
So here I was, in possession of this almost ageless light bulb, and – as luck would have it – there was a burnt out bulb in one of my lamps. A perfect opportunity to begin my decades-long relationship with Brighton. (I figured if we were going to be together that long, the light bulb should have a name.)
I pulled Brighton out of my light bulb storage area (I seem to have quite a collection of light bulbs), and began wrestling with the packaging that was doggedly defending Brighton from harm. With a sudden shift of surrender, the packaging gave way, the bulb sprang free…
and began its unstoppable freefall to the hardwood floor.
The bulb crashed to the floor. My dog Chules came running to see what happened. I began to have visions of doggie blood spurting everywhere if Chules stepped on shards of Brighton. In one swift motion, I pushed Chules aside and bent down to assess the damage.
There lay Brighton. In one piece. On the floor. Where he landed after a four foot long plunge.
I tenderly picked Brighton up, held him to my ear, and gently shook him to see if I could hear that tinkling little noise that light bulbs make when their filament has broken. Mind you, with Brighton being the Superbulb that he is, I don’t even know if he has a filament. But I figured no sound is good sound.
I took Brighton to my bulb-less lamp and with trepidation screwed him into the socket. Holding my breath, I reached with quaking hand to flip the switch.
And then there was light!!!! Brighton’s alive! Metaphorically speaking, of course.
As I sit here basking in Brighton’s warm glow, I have every confidence that we will be together for a long, long time.
Hey, wait! Did someone turn out the lights? Brighton…?
Brighton?!?
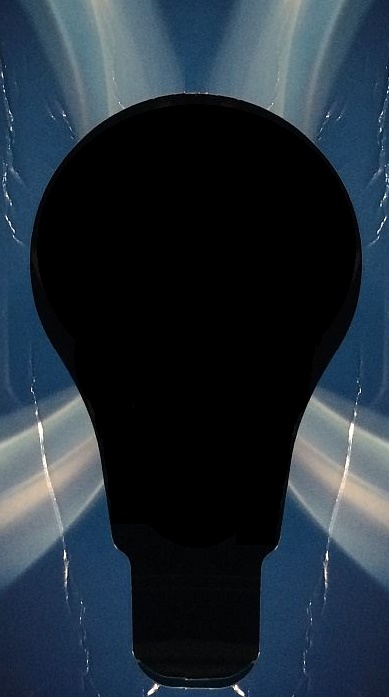
 L is for Light bulb.


 Inertia: I want to make a stained glass panel for my soon-to-be-born grandbaby. But:


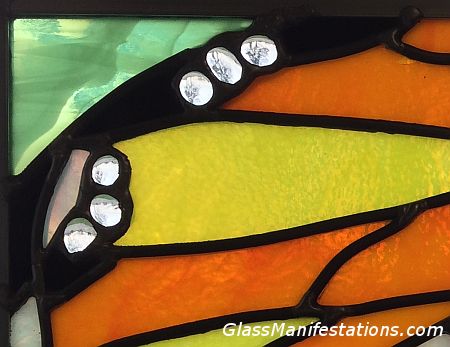
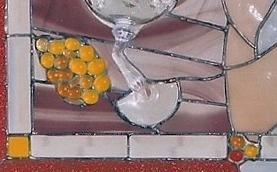
 You look at these beautiful buttons of glass; a confectioner’s delight of colorful “candy.” And you ask, “What are these gorgeous pieces called?”